Tuxedo Cat Coloring Pages
Ten quiet minutes after school. That slim window can rescue the whole evening. Fill it with Tuxedo Cat Coloring Pages. I sketched each scene at the kitchen table, ran real test prints on a creaky home printer, and binned anything that looked fuzzy. Families tap Print, kids lean in, the house exhales. I keep the full set on ColoringPagesJourney so the routine is plug-and-play—no faff, no fiddly menus, just clean pages that behave.
Printable Tuxedo Cat Coloring Pages for Quick Family Fun
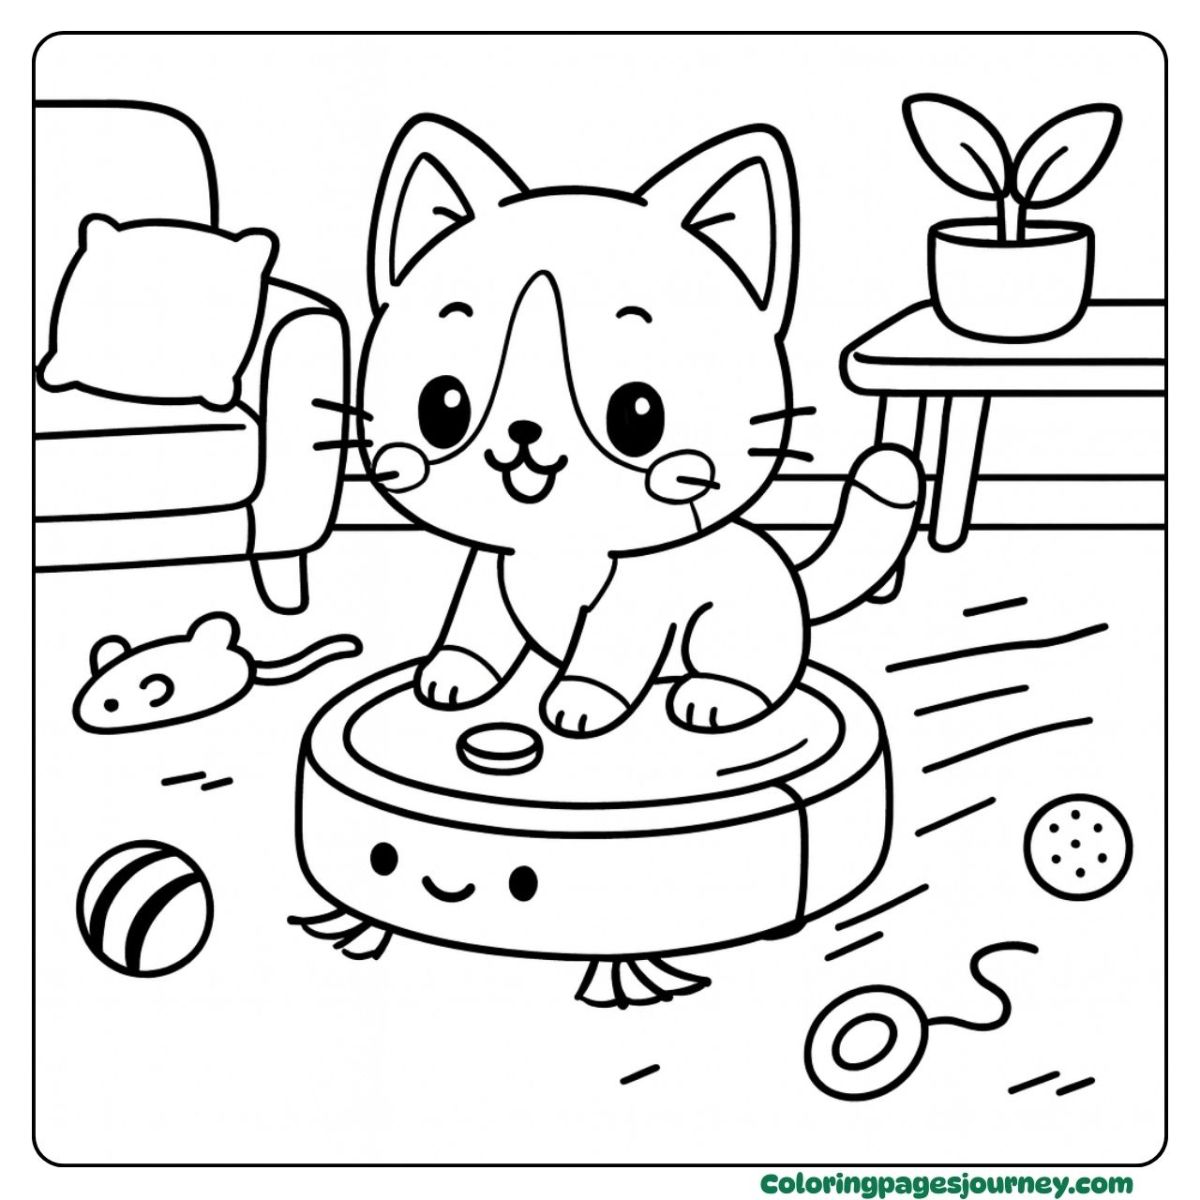
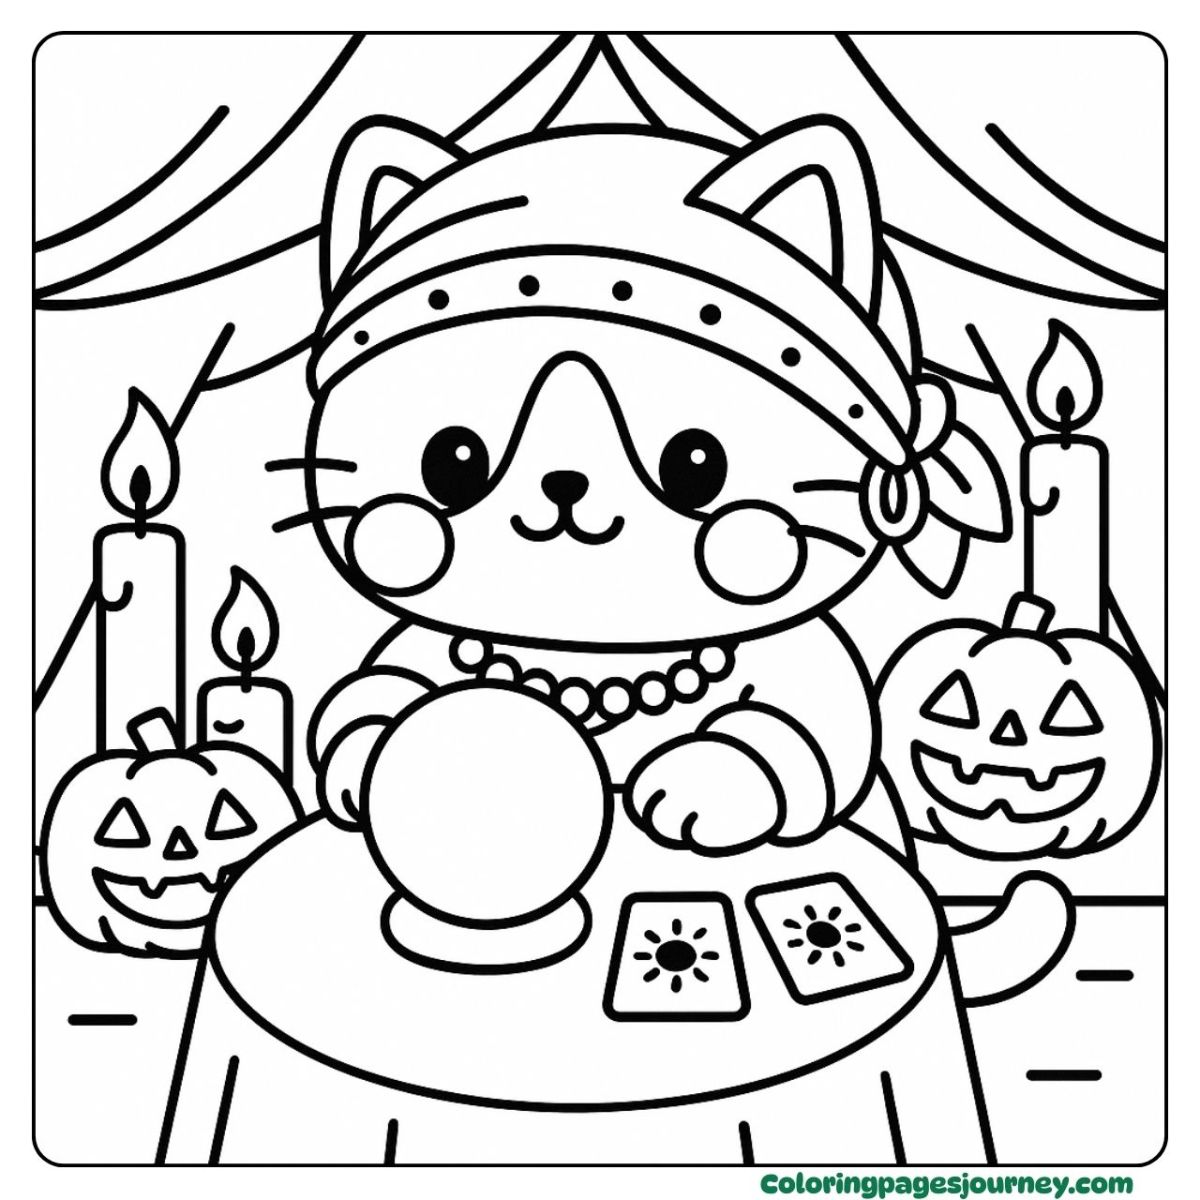
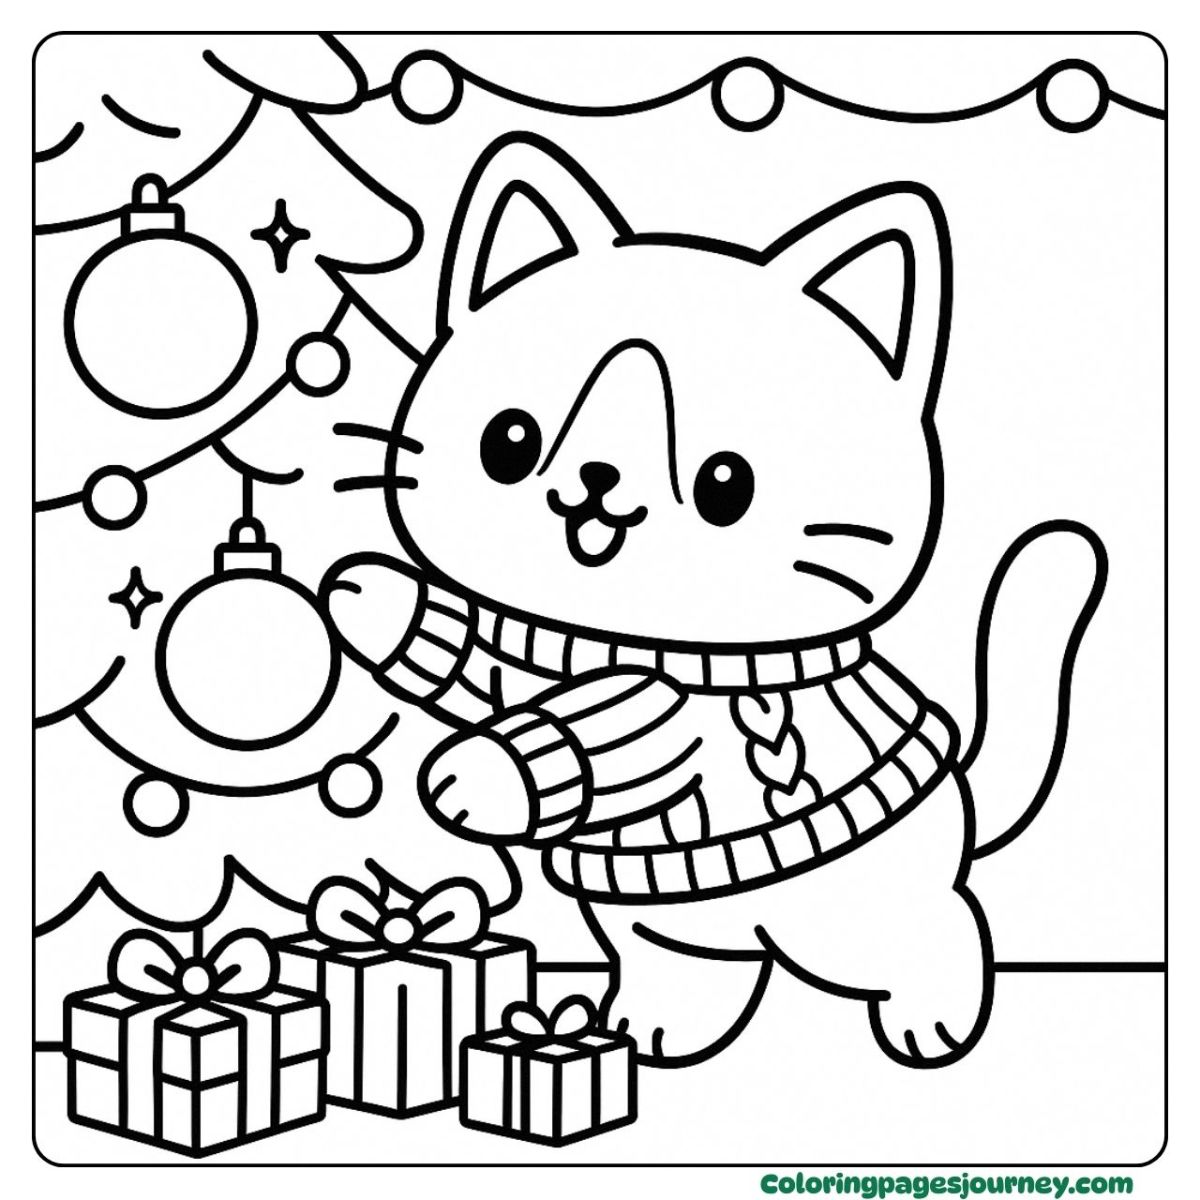
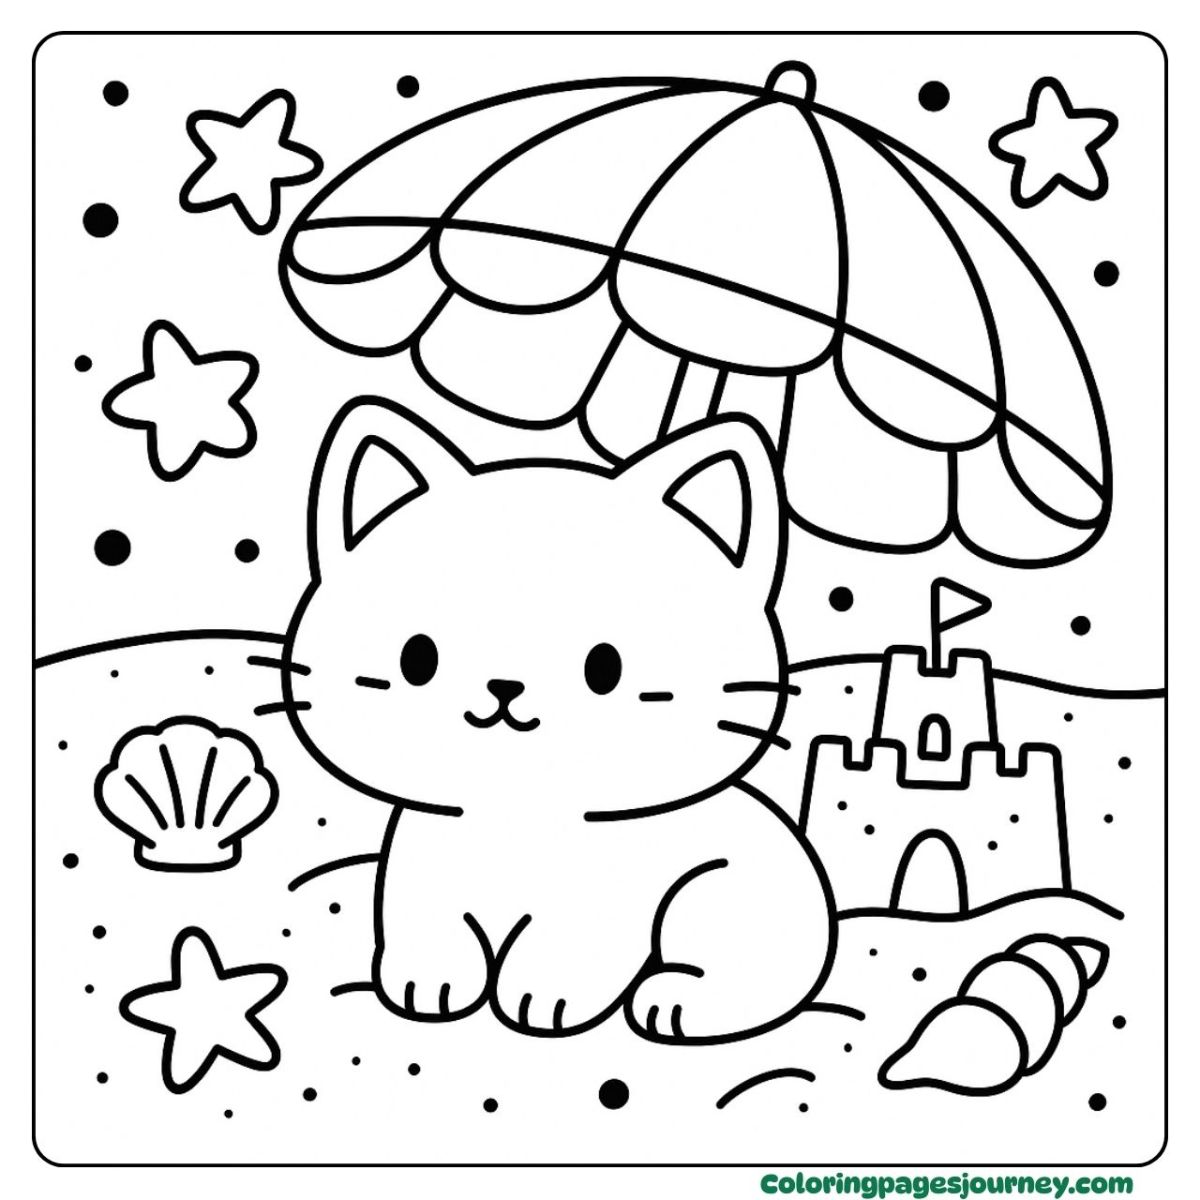
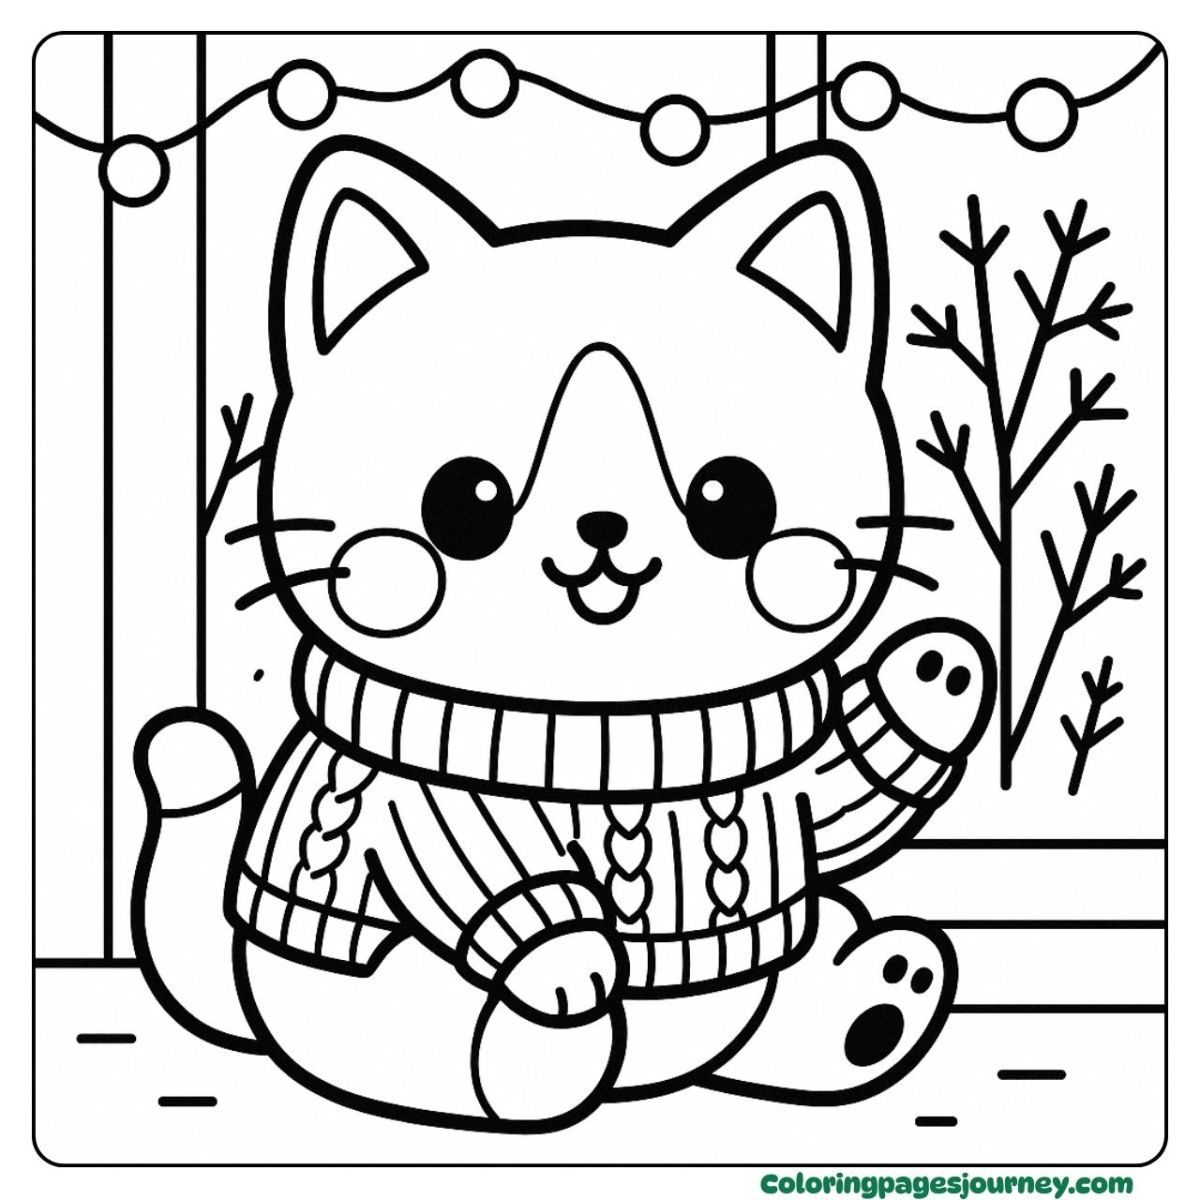
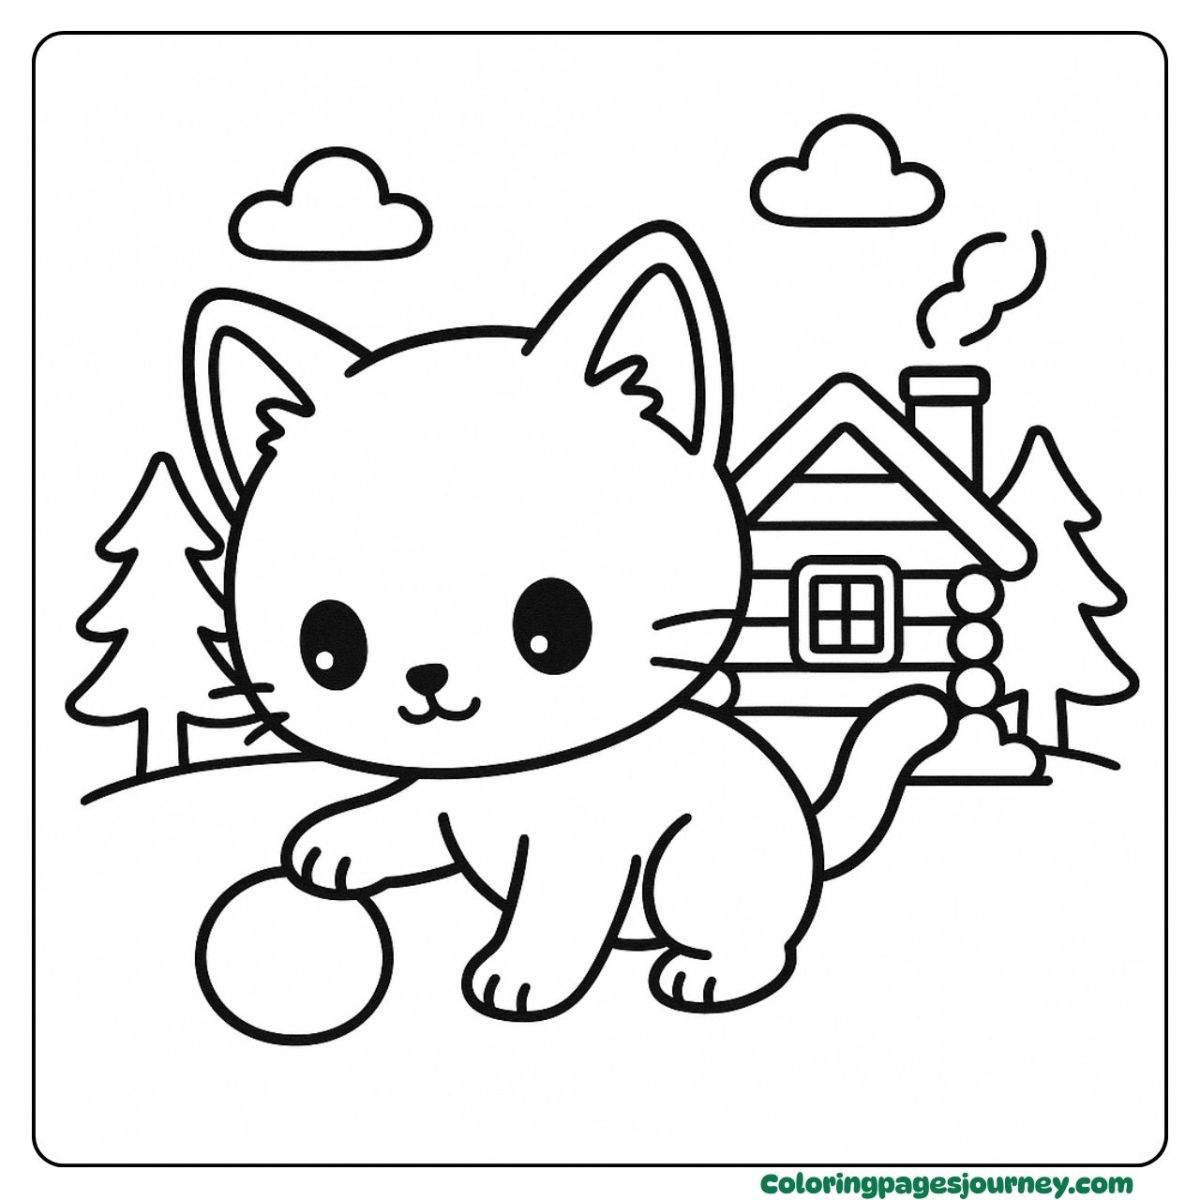
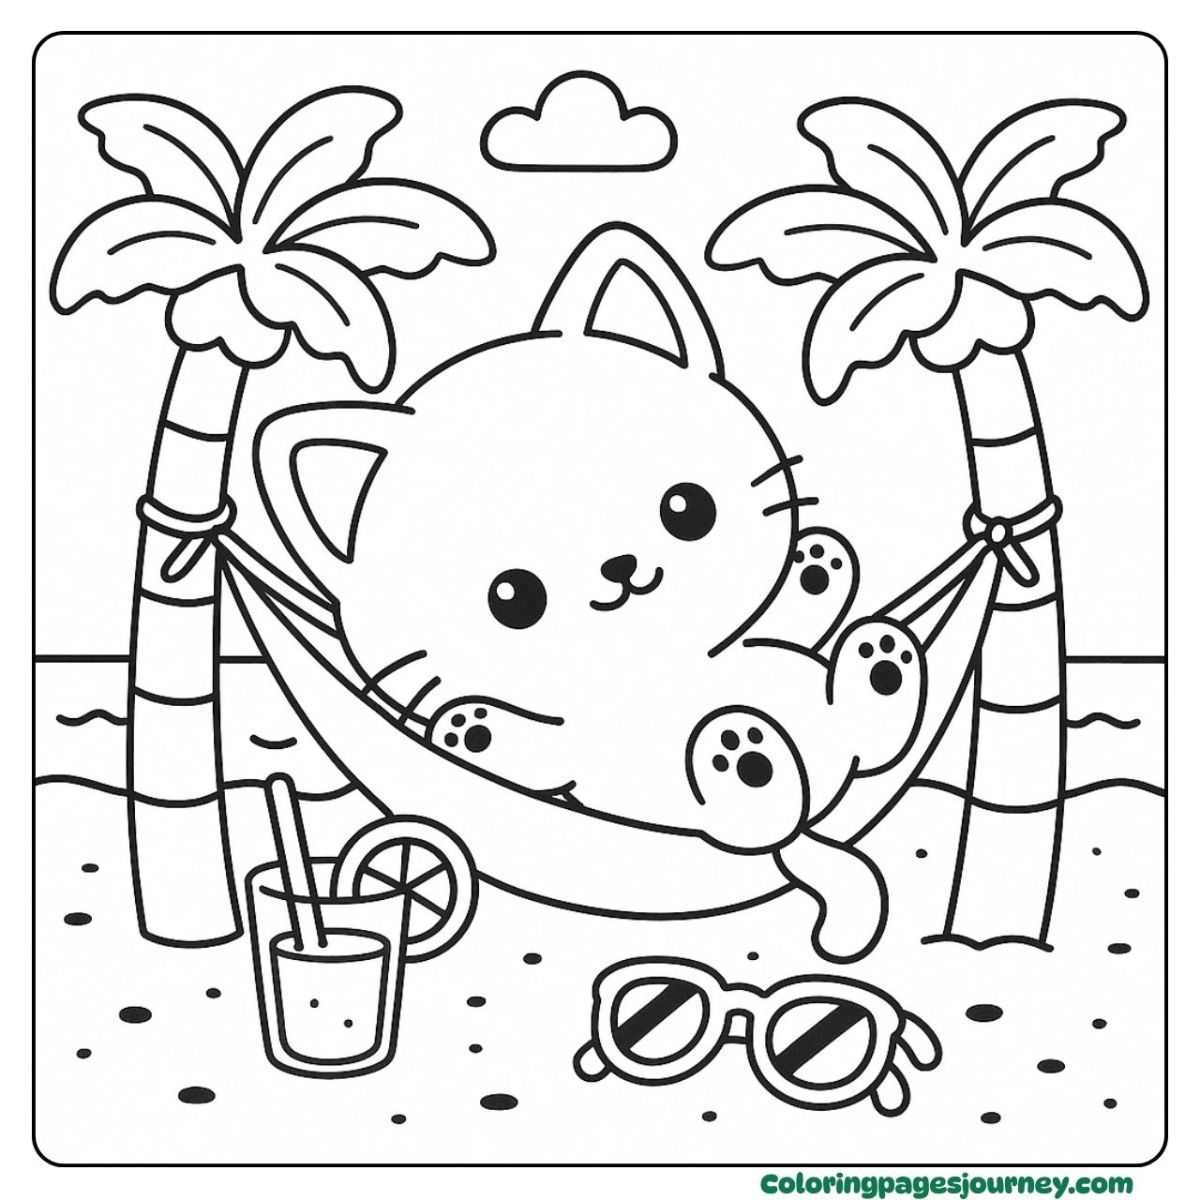
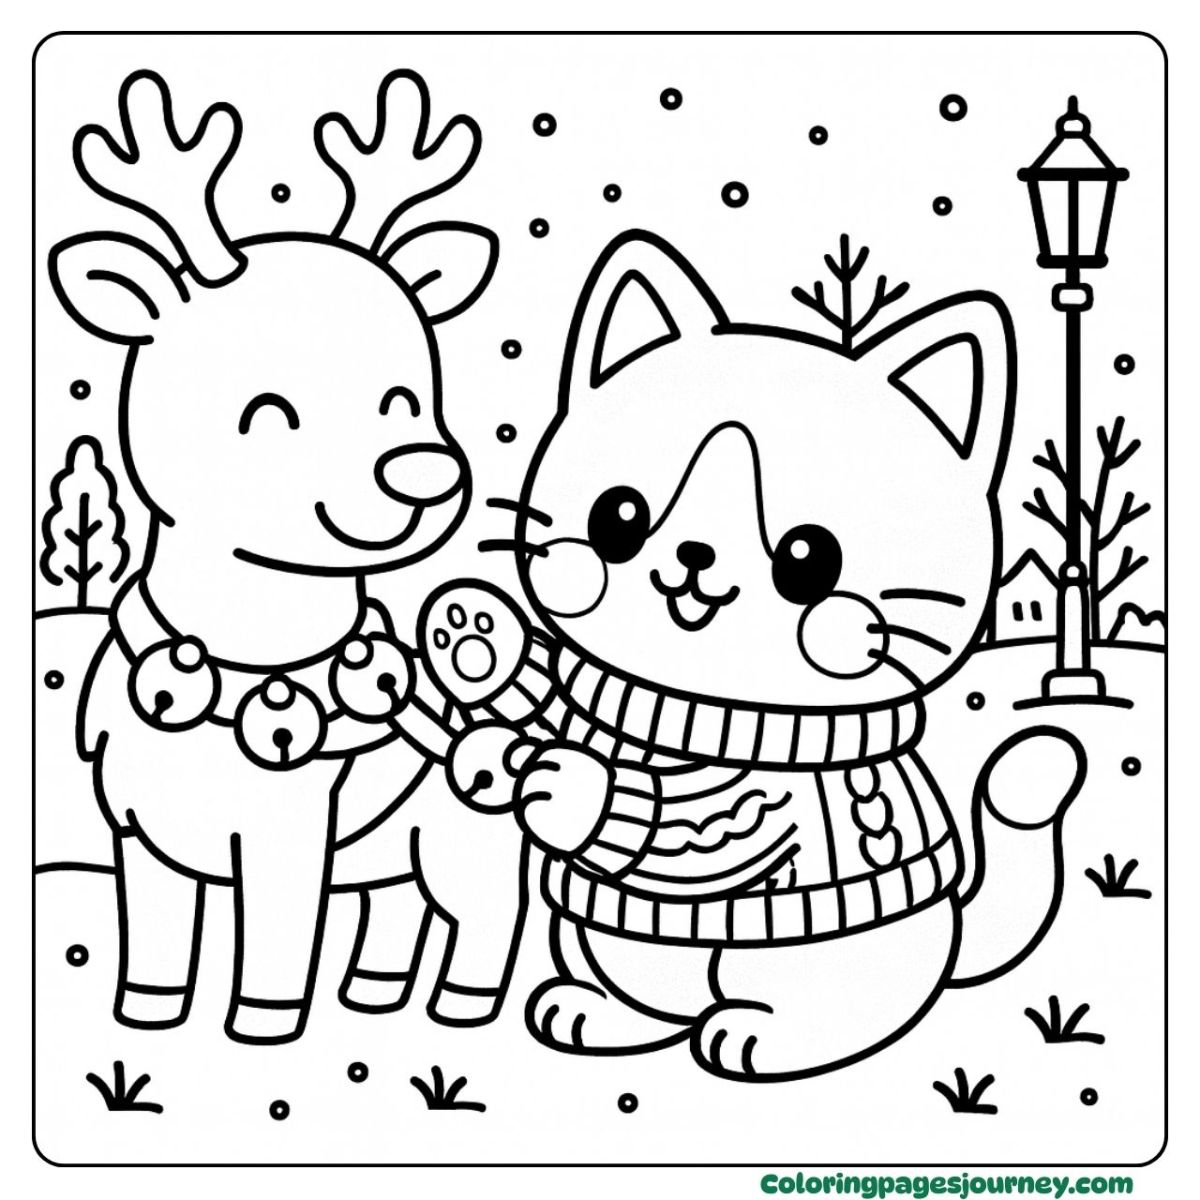
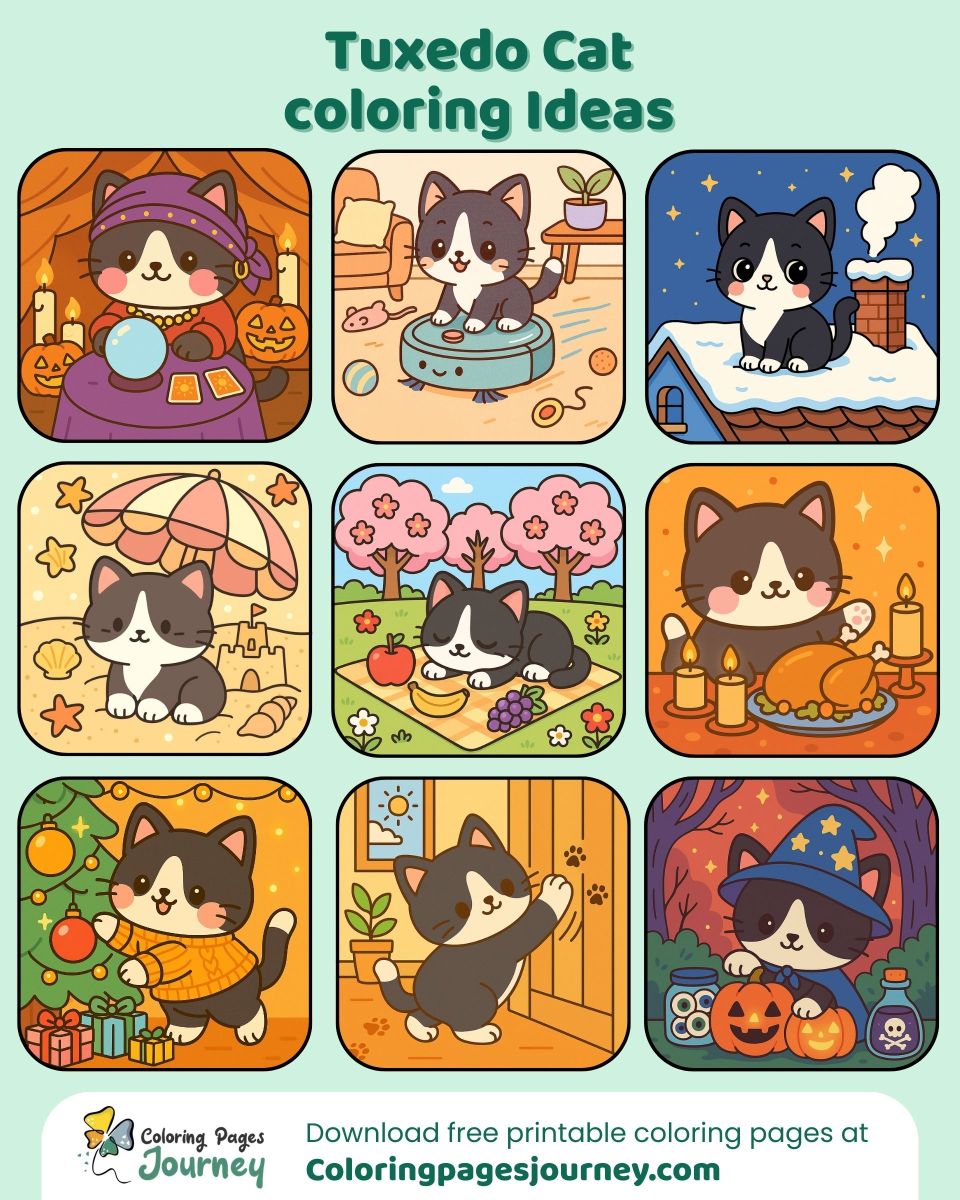
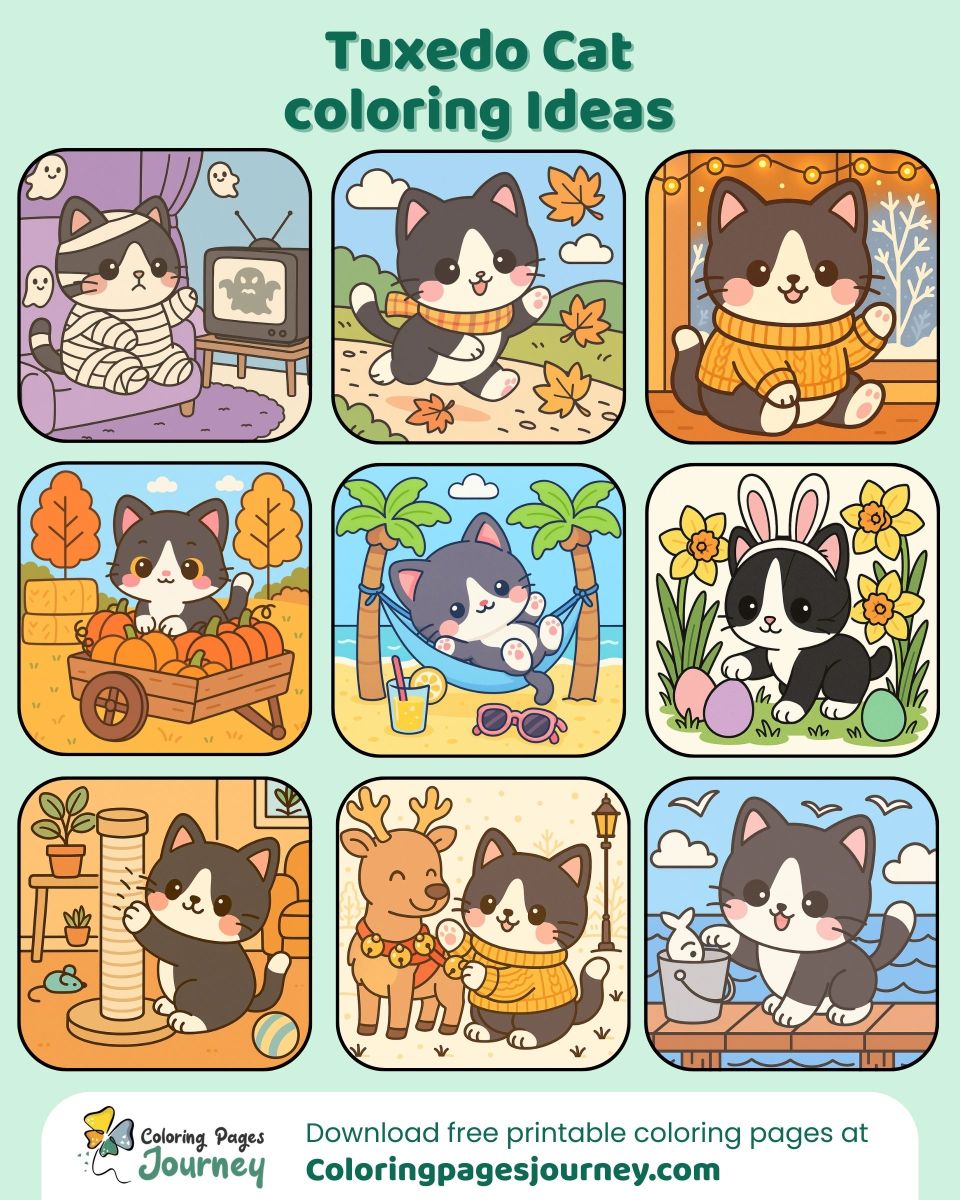
Clean lines keep edges crisp, so kids fill spaces smoothly. Wide areas invite blends, and steady outlines guide small hands. Scenes include porch rails, rooftops, piers, beach hammocks, and lamplight corners. Props such as mugs, books, pumpkins, bunny ears, a robot vacuum, and a fishing rod add story while eye dots and whiskers hold attention.
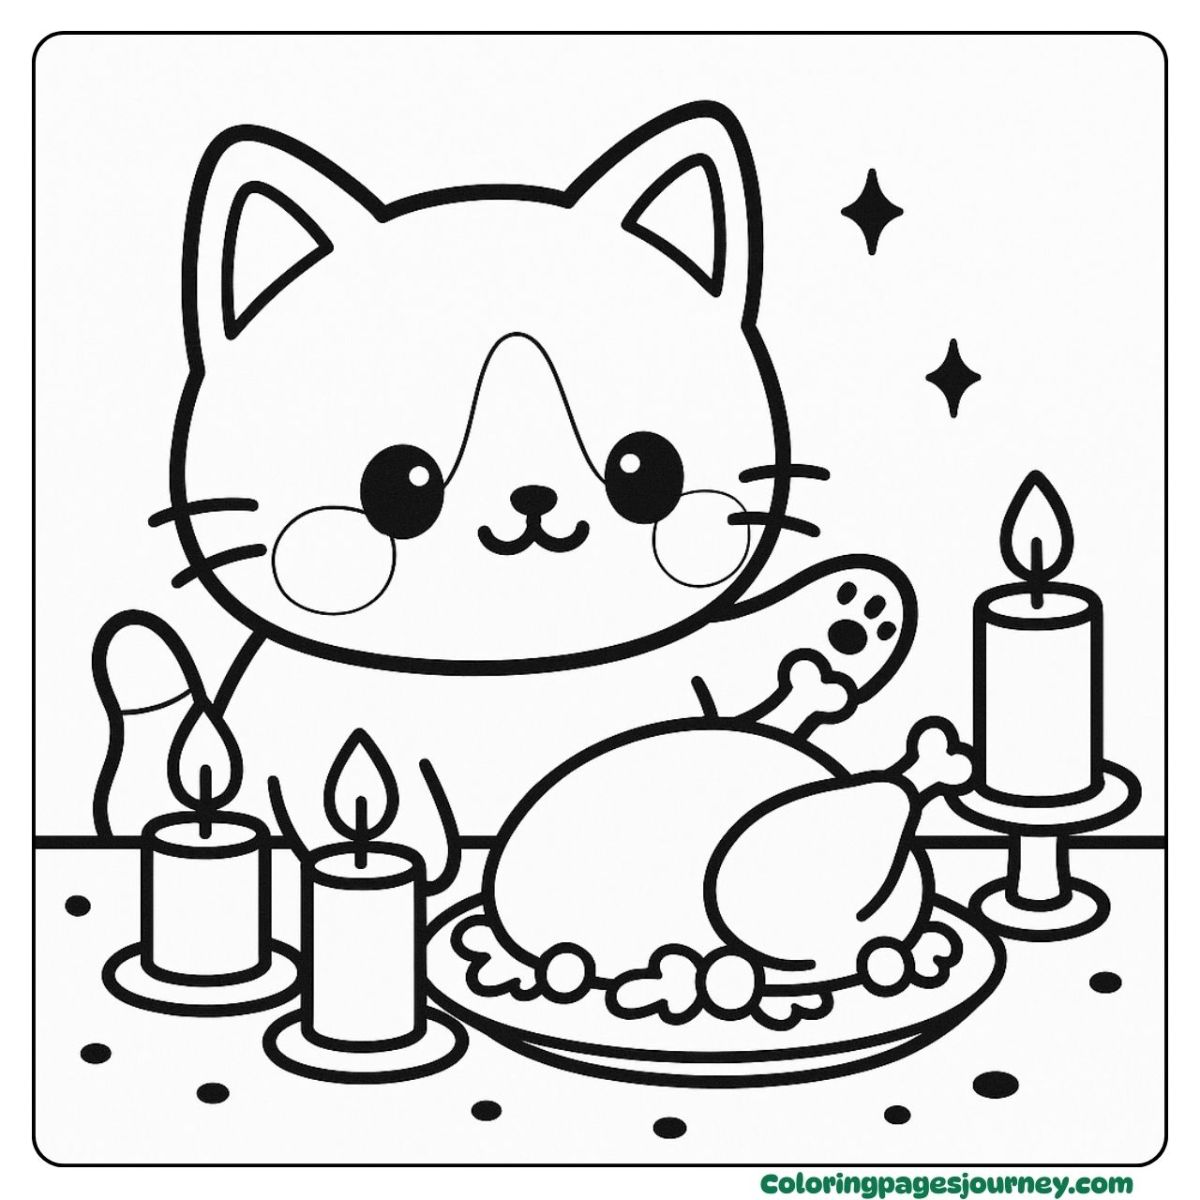
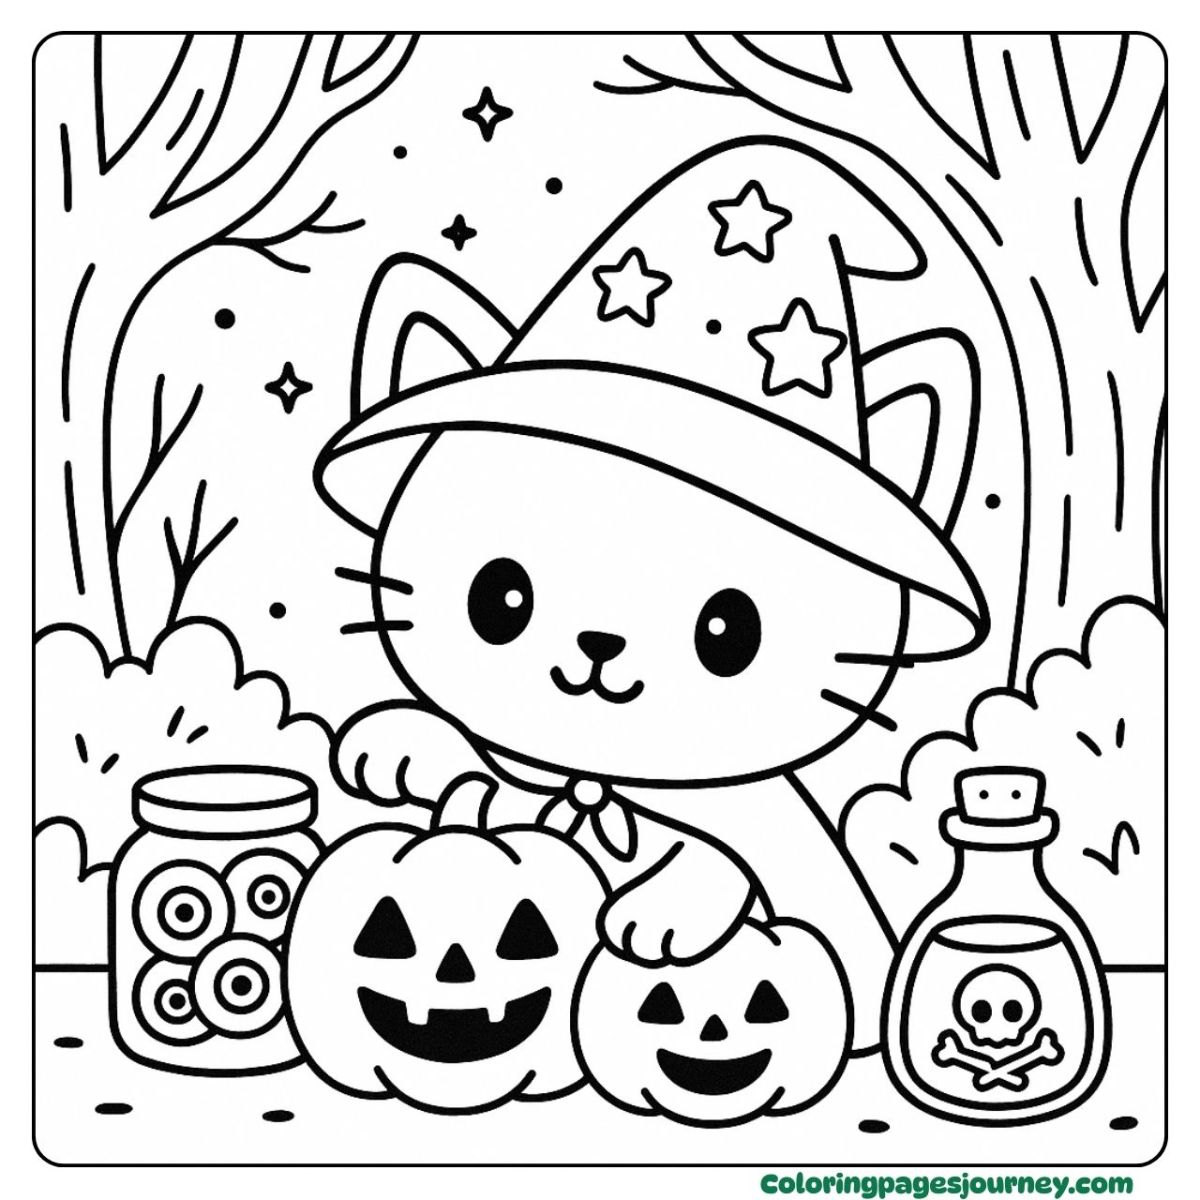
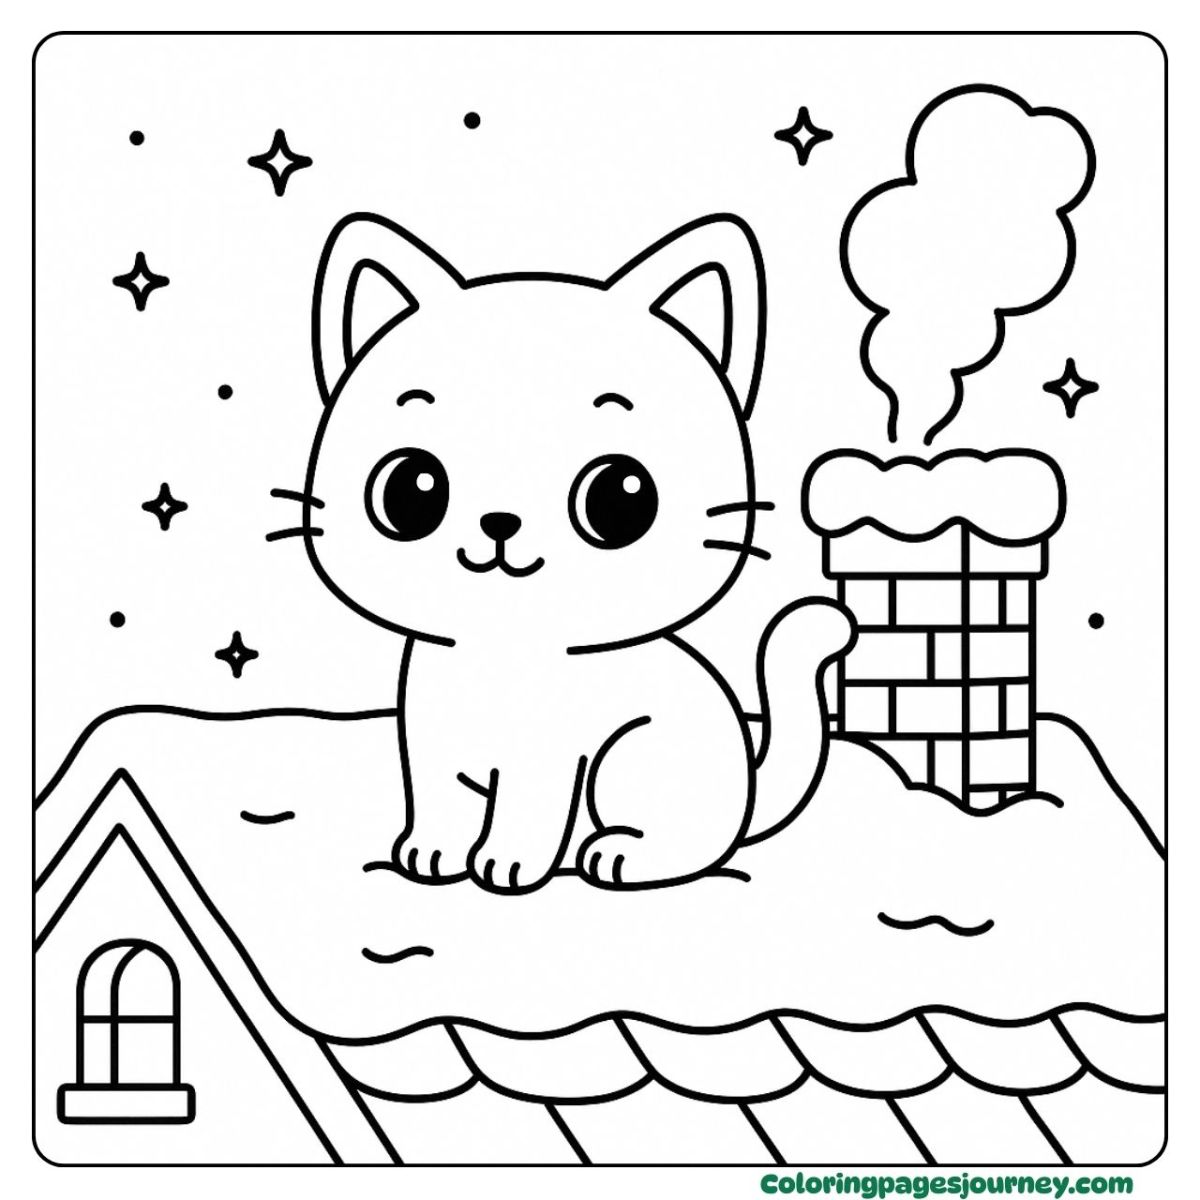
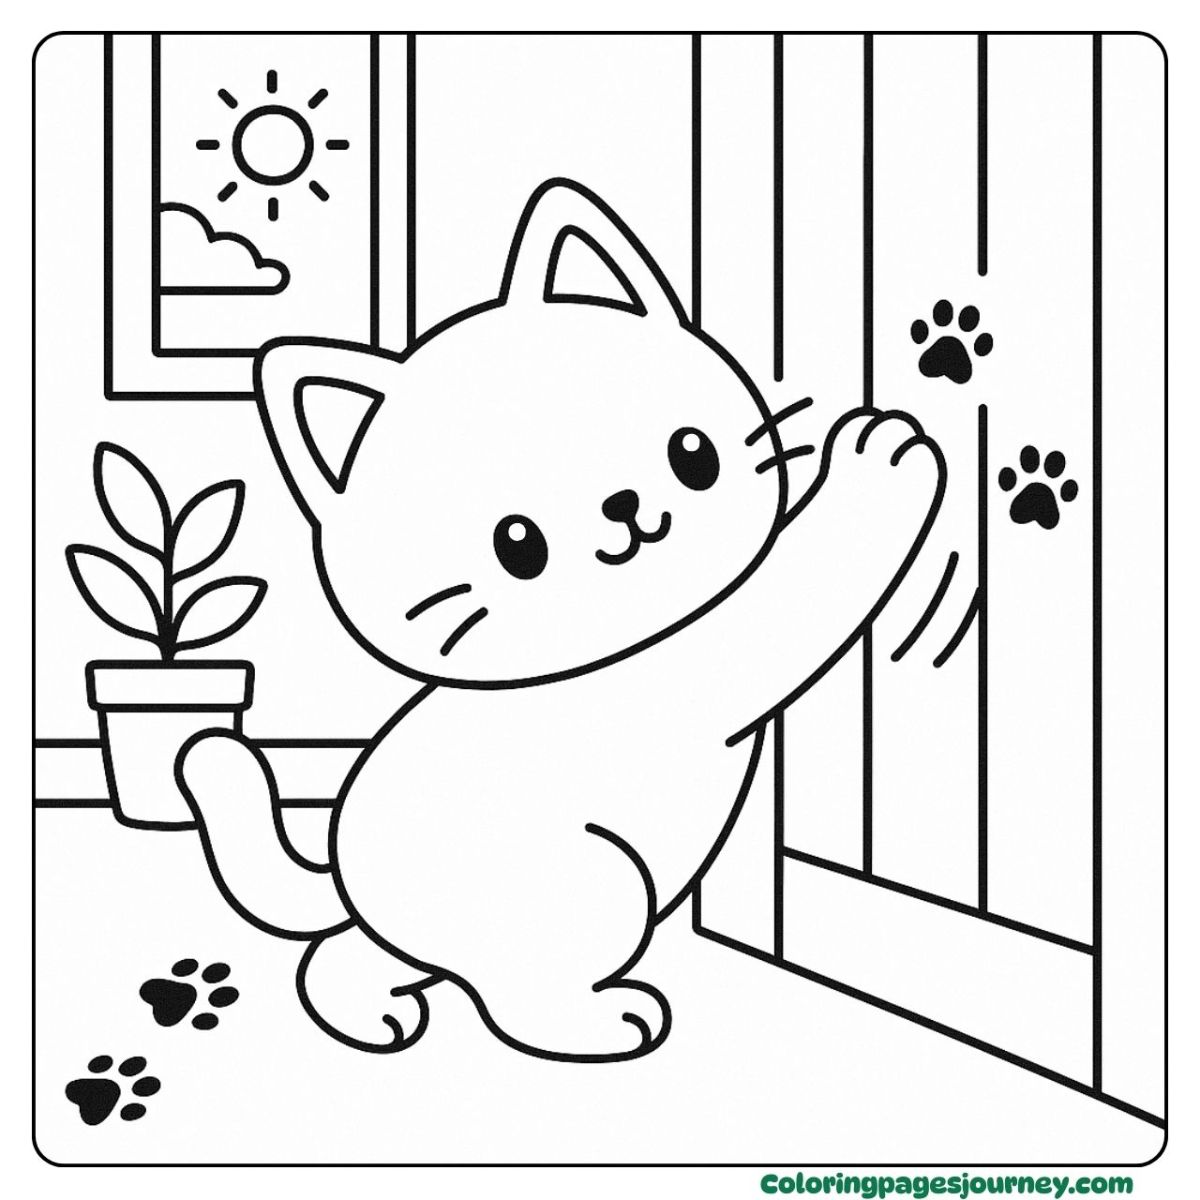
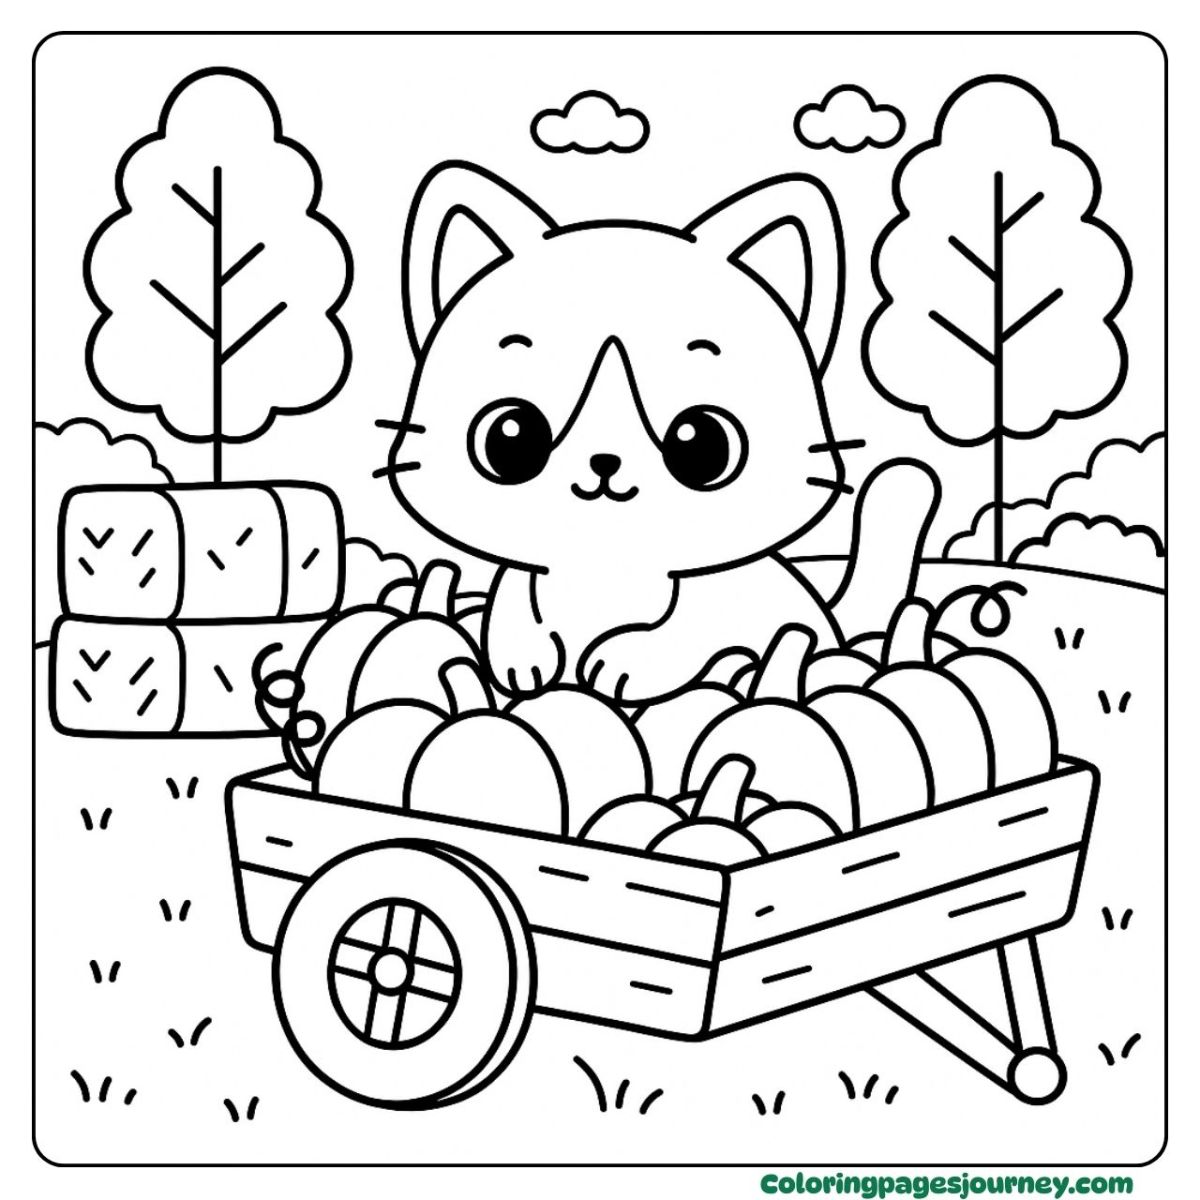
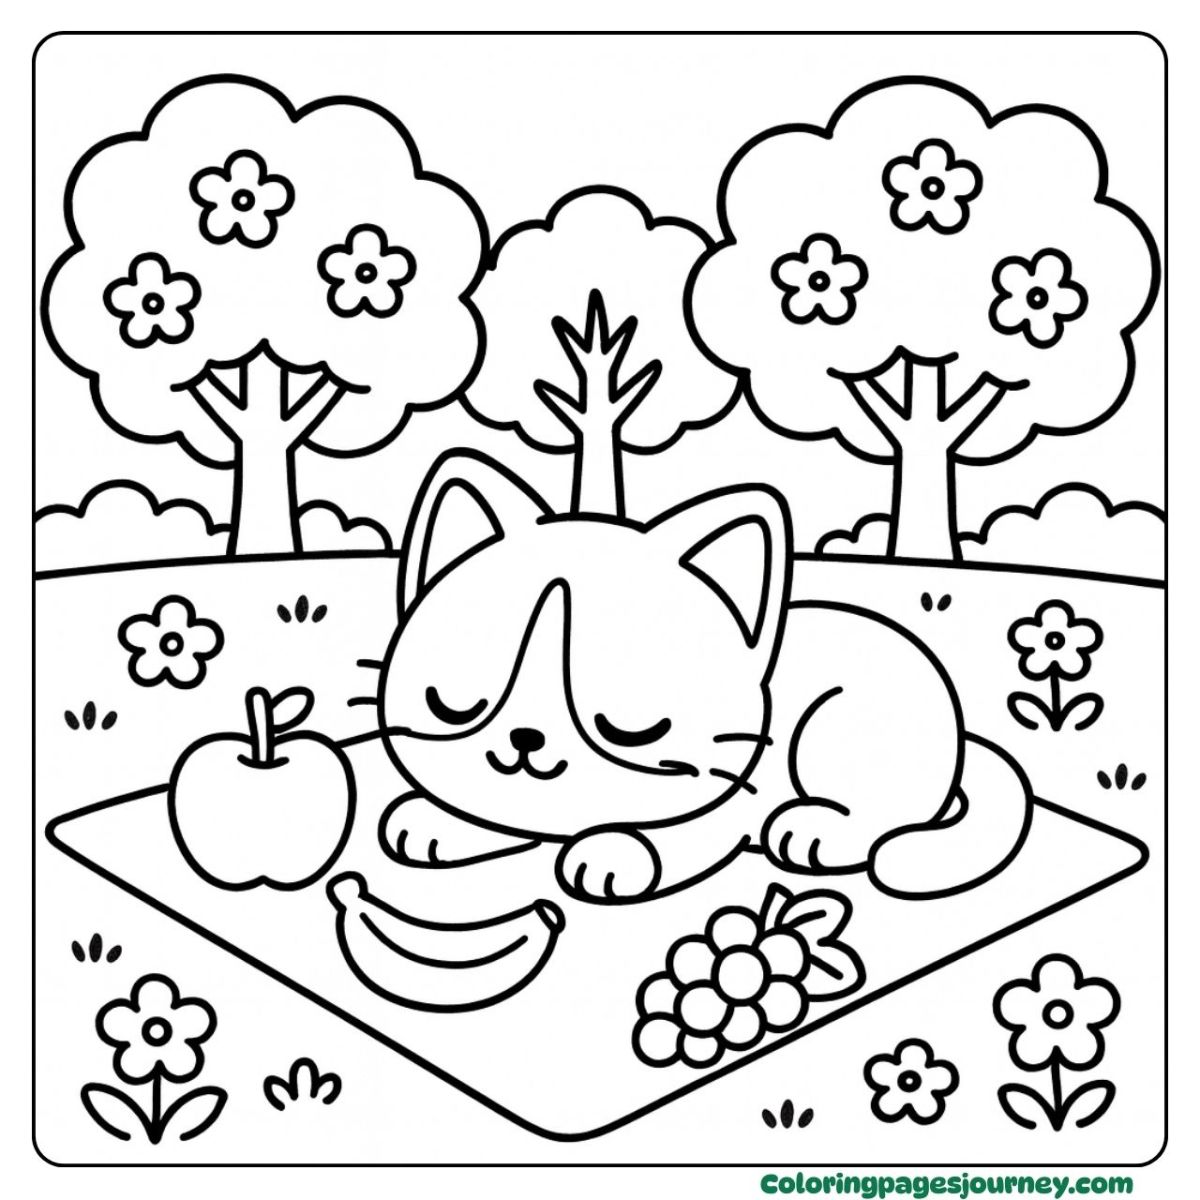
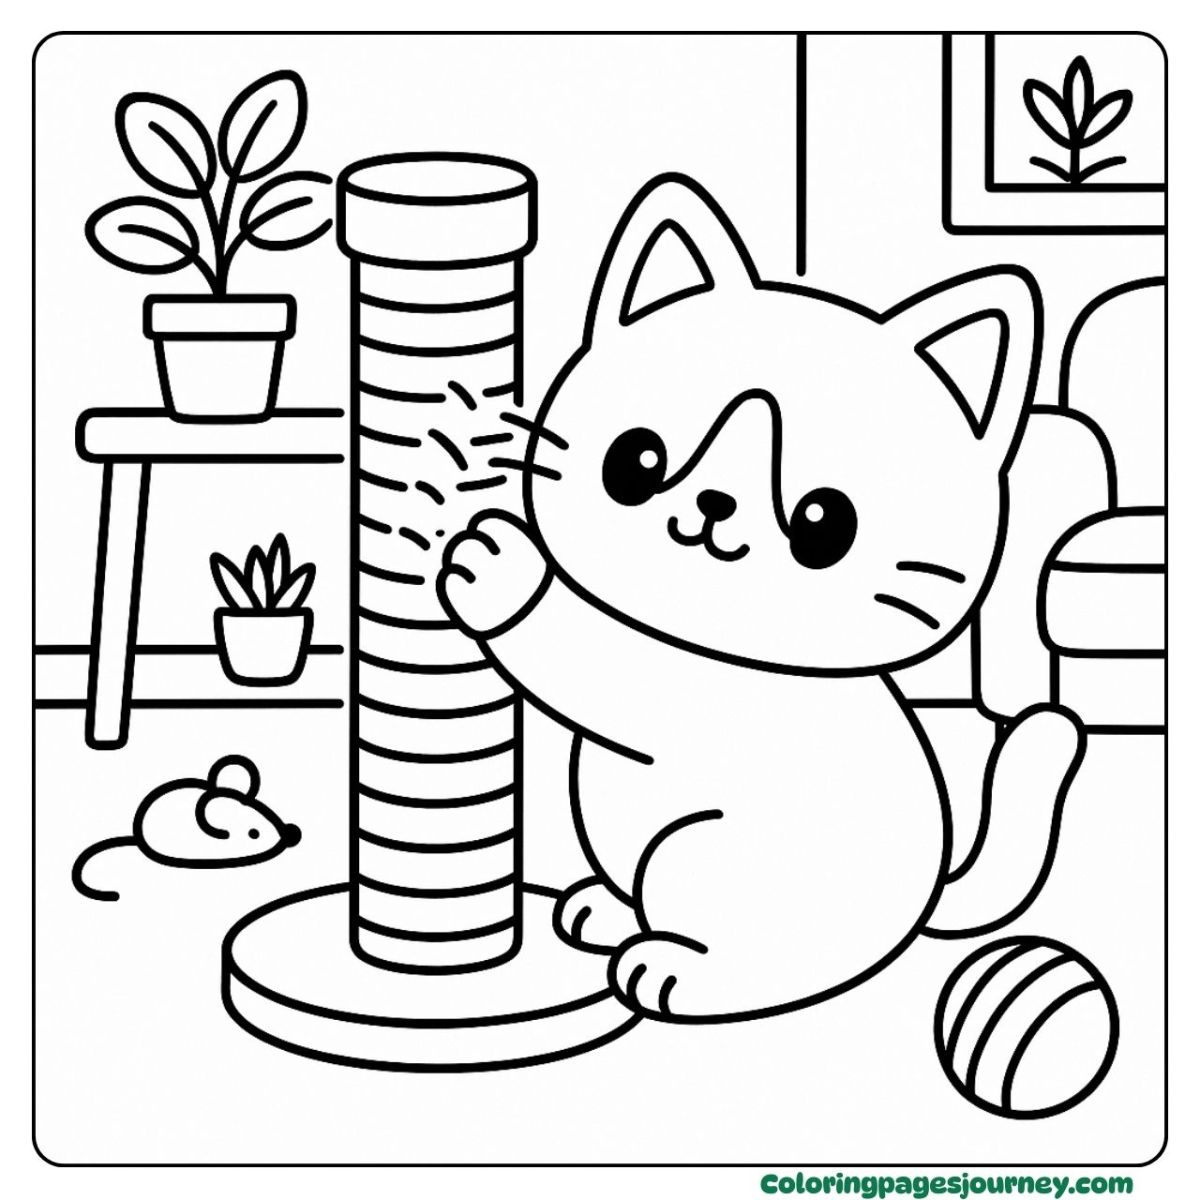
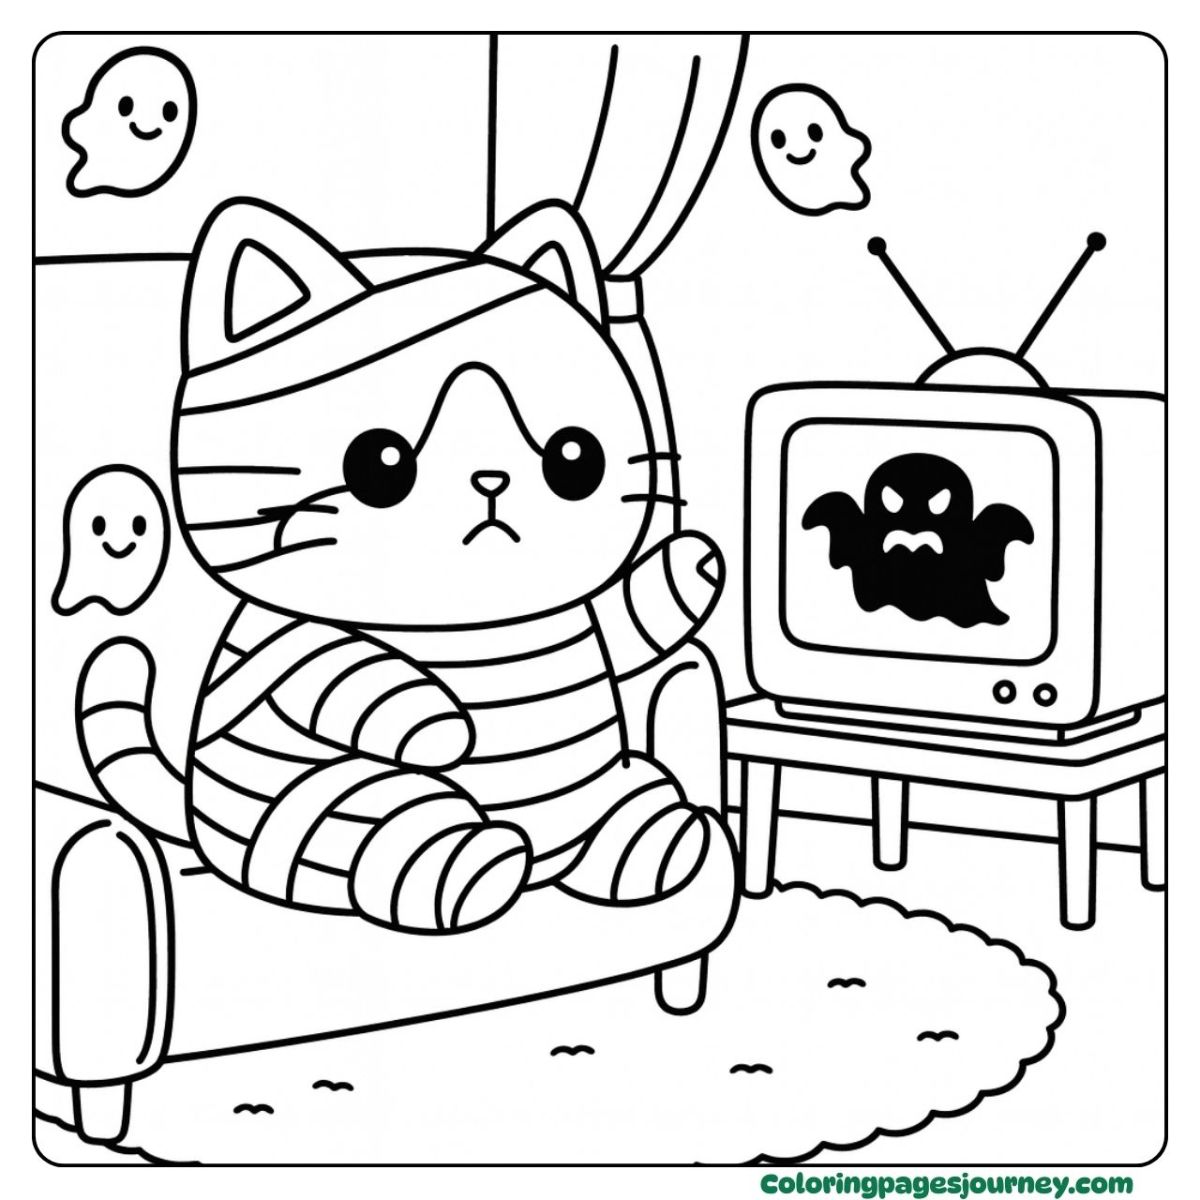
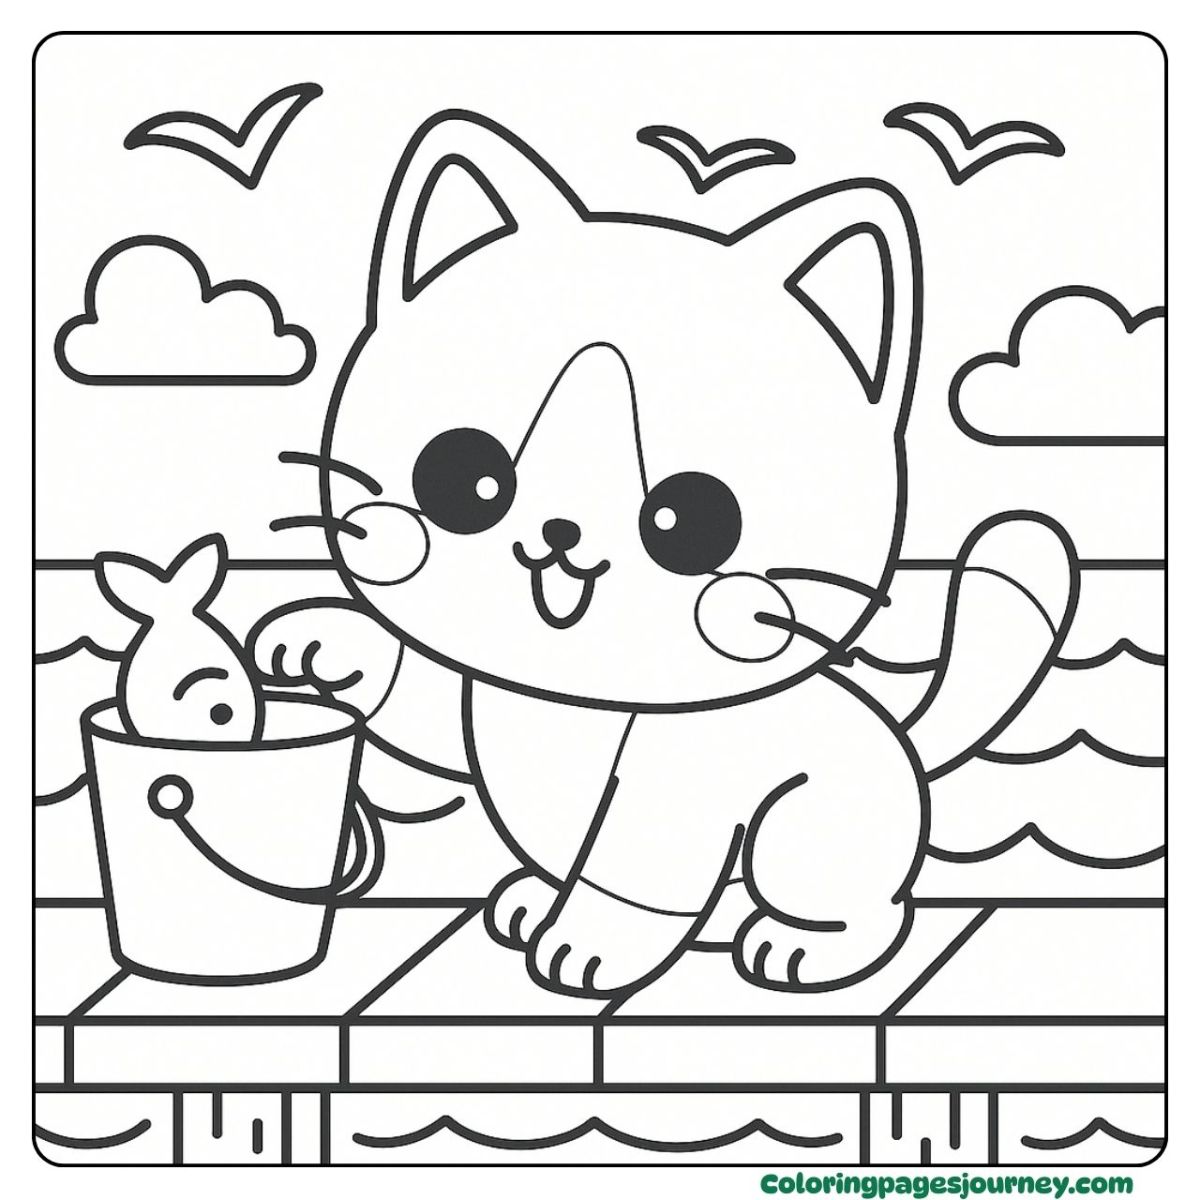
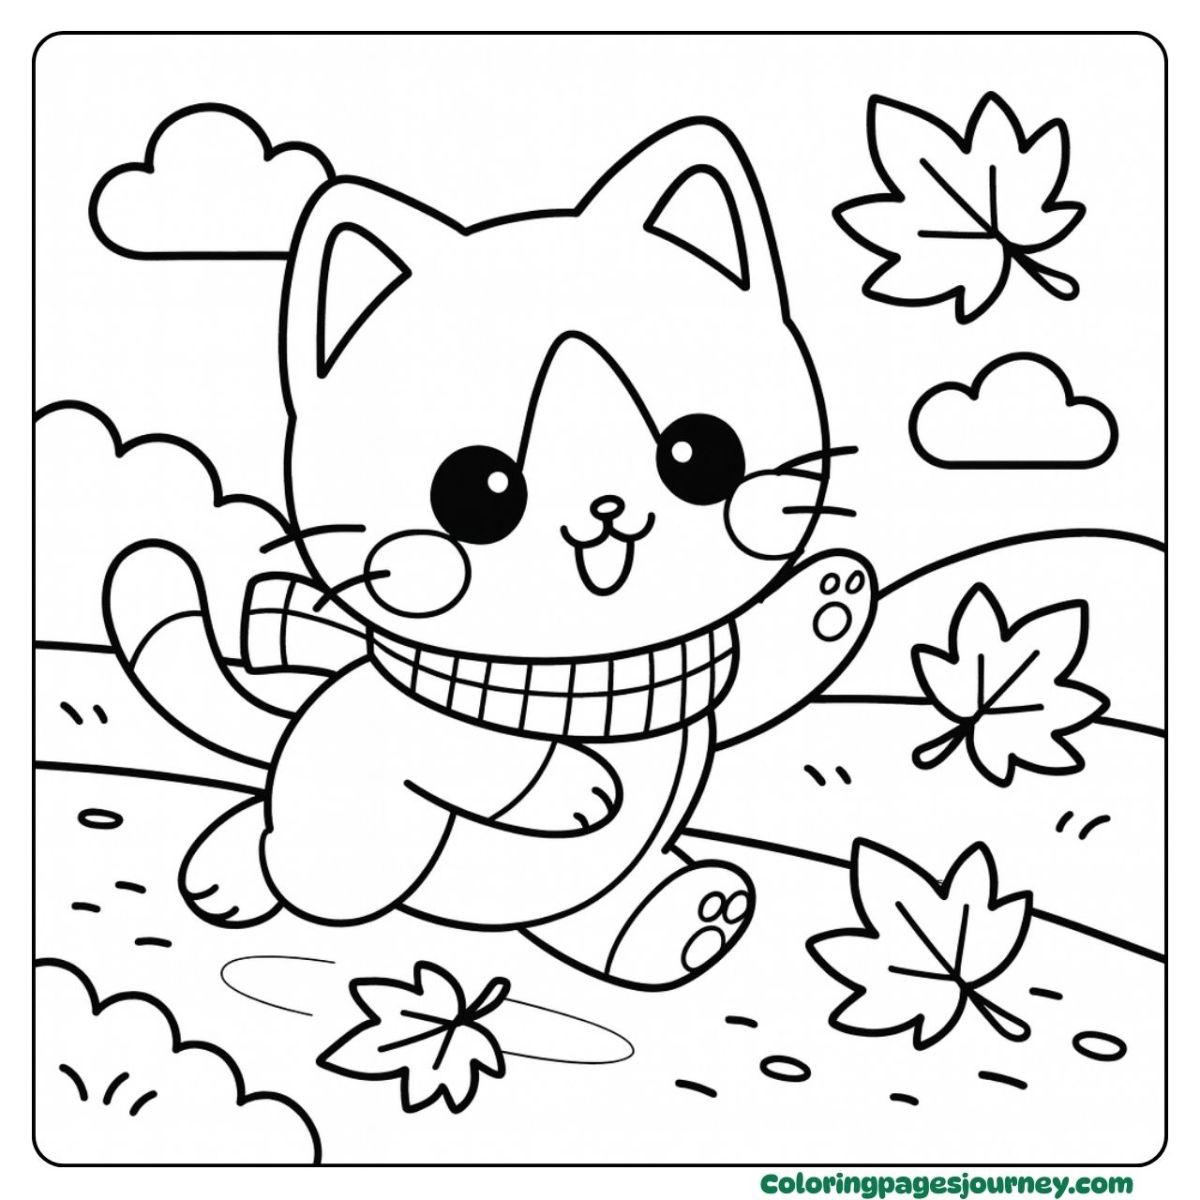
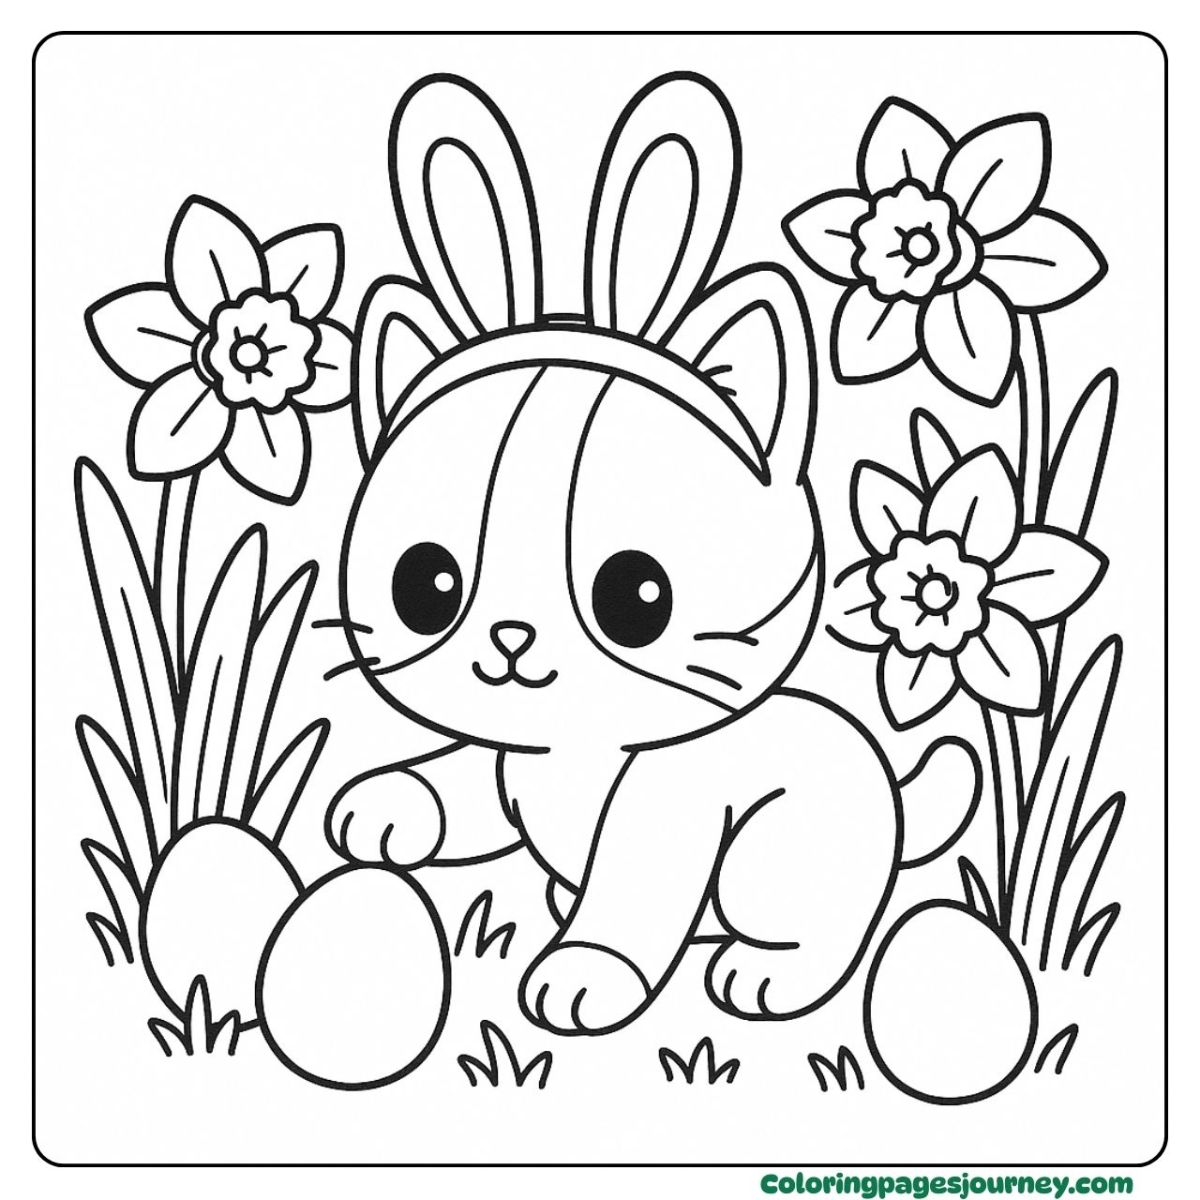
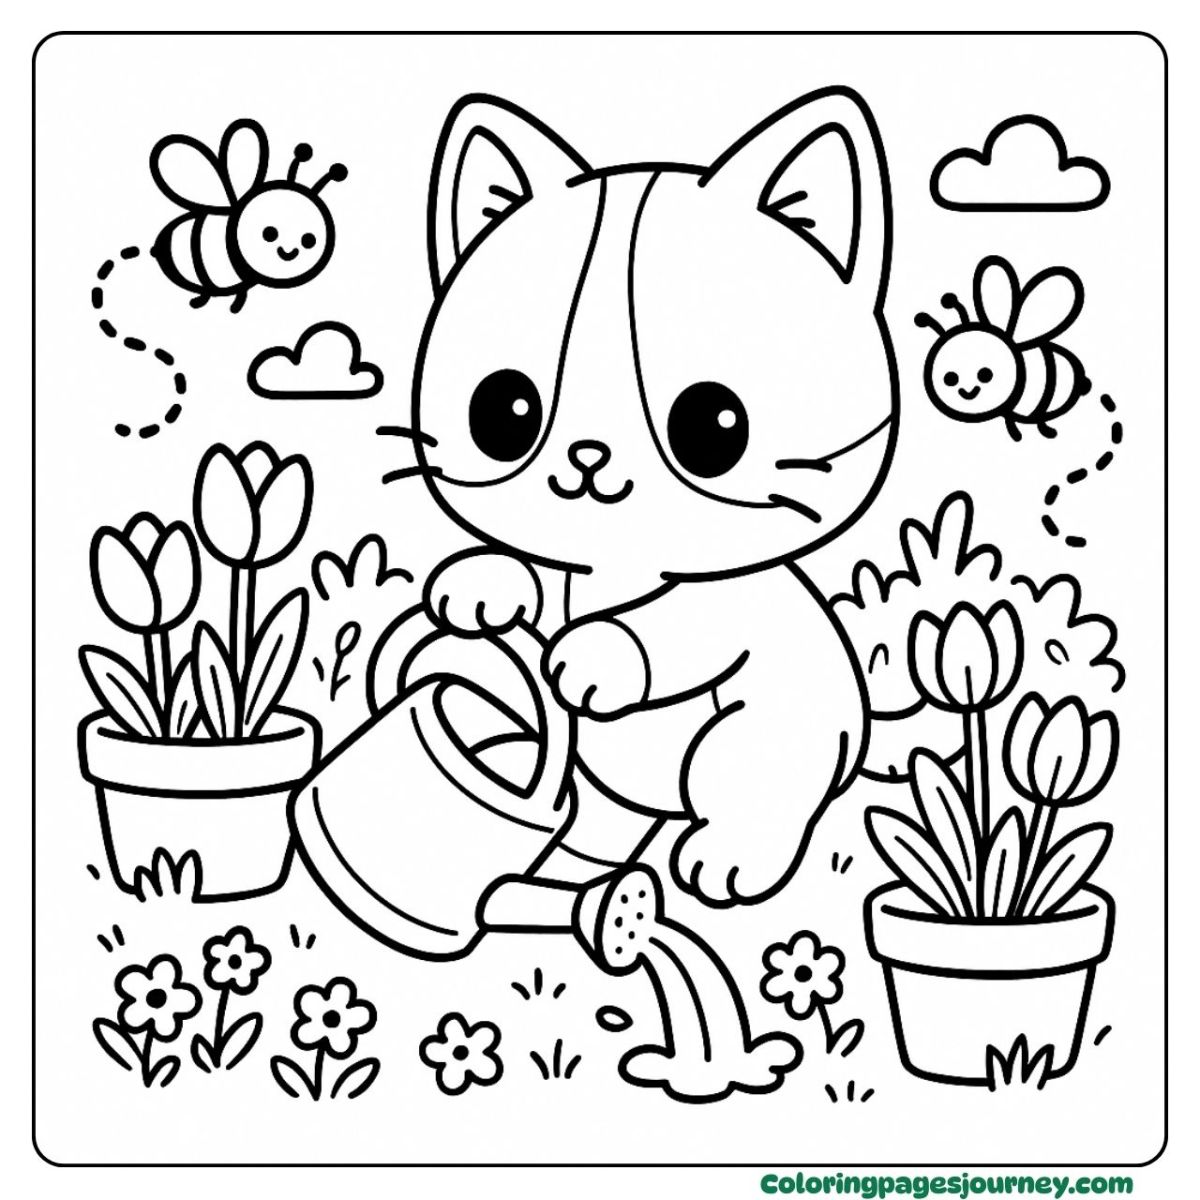
Pictures for Beginners, Creating an Art to Color
Start light. Layer slowly. Stop on time.
Pick two or three main colors plus one neutral gray. Lay soft passes, rest, add small accents, and stop the moment forms read clearly. Less tinkering, cleaner finish.
Beach Hammock Day
A light blue sky and yellow sand under the cat create an atmosphere, while leaving a soft gray shadow that keeps the hammock fresh.
Halloween Witch Table
To complement the hat and cloak, the purple color is paired with pumpkin orange and illuminated by a pale blue crystal ball.
Robot Vacuum Cozy Corner
A soft-brown sofa is bordered by warm beige flooring, and the robot's teal shell serves as a welcoming centerpiece.
Snowy Rooftop Night
A background of sky blue highlights the edges of snow, while deep navy shadows indicate moonlight.
Purpose and Plan
These pages are built for short sessions and ten-minute windows. Printable files are released through ColoringPagesJourney to keep setup simple. Print a sheet, color with a small kit, then file the result for later reflection. Over time the routine becomes a calm, screen-free habit at the kitchen table.
Reader Impact and Use
Folders show progress week by week, and evenings quiet down faster. Rooftop and pier scenes get quick picks on busy nights, and homework starts on time. When another round is requested, Tuxedo Cat Coloring Pages often help children reset calmly. Teachers reuse favorite scenes during centers so attention holds and transitions feel smooth
Step by Step Basics
Verify dark spots on the face, chest area, and paws, then create a brief value map.
Shorten the strokes and create a shadow under the chin and tail curve.
Place the back and midtones to round out the shape, leaving a soft undertone.
Tape in gaps to make them disappear, then fill in the edges.
For whiskers, leave a small white thread and stop before overworking.
Quick Specs for Materials
To make pencils, use 120–160 gsm matte paper and markers in 160–200 gsm of cardstock. Choose “High quality” and “Actual size” in the print dialog.
Advanced Coloring Questions
Are there any techniques for blending pencils without the presence of wax that can cause bubbles?
Spread thinly, apply with a colorless blender, hold back, and burnish only at the end.
What is the process for creating alcohol markers on two heels to use as tuxedo fur?
Pair cool and neutral grays. Flick toward the seam from both directions so the blend stays elastic, not blocky.
Why do marker boundaries remain consistent?
Use the chisel tip to outline, then brush inward, and let the area dry briefly for each approach.
How do you map light on black and white fur? What is the method used?
Cool shades cast onto the white chest, while warm grays shape the black coat for a distinct temperature contrast.
Can a graphite underlayer help?
With a workable fixative, the values of 2H and HB are delicately sealed to preserve the tooth's color.
Downloading and Home Printing
A brief outline is delivered on paper with minimal effort. After downloading the PDF or PNG, perform a test print on A4 or US Letter. Select real size and High quality, and verify the margins. For markers, opt for 160–200 gsm, and for pencils, use 120–160 grit. A scrap sheet is also available beneath the table to store pennies.
Formats and Print Guide
Sharp lines are a hallmark of precise formats and clear alignment. Masters sit at 300 DPI to ensure that edges stay clean on both page sizes. Importing a PNG, adding color beneath the line layer, and exporting as a PDF for printing is possible for those who specialize in digital color. To avoid wasting ink, one draft pass must be scaled and contrasted.
Print Test Protocol
Try matte stock at 120, 160, 200 gsm. To spot feathering, run a short alcohol-marker line along a border, then add a diluted water-based shadow and watch for creep. For registration, map lights with H/2H, build volume with 2B/4B, lift clean with a fresh eraser.
Process and Practice Evidence
My flow is sturdy and repeatable: loose scene sketch, quick light-and-dark placement, then a vector pass to steady contours at print resolution. Porch, rooftop, and pier tests show heavier paper reduces bleed while lighter stock keeps pencils lively. Either way, backgrounds stay restrained so the cat steals the show.
Print Notes from Testing
Although the 120 gsm material gives pencil layers a smooth texture, heavy alcohol-marker passes may appear shiny, and an extra sheet hinders transfer—the choice of Actual size results in bleed reductions and cleaner borders at 160 gsm. Stackability is high for 200 gsm blends, and some older printers can improve their saturation levels by a few percentages.
Version History and Transparency
Version 1.3 includes alcohol-marker checks on 200 gsm and minor adjustments to eye-line adjustments. A five-step value map for cheeks and chest was introduced in version 1.2.1.15. The redesigned version 1.1 has also reduced file size to ensure consistent printing speed while maintaining clarity at 300 DPI. Family members can be informed about the most recent update by displaying dates.
Testimonials
“Last ten minutes of class, the room settles. Rooftop is our closer.” — Ms. H., 2nd grade
“She saved the eyes for last, grinned, and called it done. Bedtime was easy.” — A dad in Ohio
“Bold borders give shy kids the nerve to try warm and cool grays.” — After-school art lead
Editorial Standards and Ethics
The published tips are based solely on tests conducted at home and in class, with real-world examples used to support all paper and setting recommendations. If sponsored content is accepted, future updates will clearly indicate that it cannot be used. Feedback from teachers is accumulated to safeguard personal privacy and make guidance accessible.
Accessibility and Usability
Firm line weight helps with tracking. Large open shapes welcome crayons and markers. Faces stay clean when whiskers and eye dots land last. With High quality selected, light direction reads even in black-and-white.
From Page to Project, 15 Simple Ways
Completing a page results in quick crafts with minimal preparation. Cut, trim, and add a few steps; scissors, tape, glue, a hole punch, and twine complete most of the steps.
Ribbon Bookmark
Create a thin band, insert an opening in the middle, and secure it with ribbon. Let it dry completely before reading for the night.
Gift Tag
Create a miniature shape by cutting one corner and creating an additional hole. Repeat the process. Add a name and then go back to the card for added force.
Folded Mini Card
Mark the middle of the line, fold it, and leave a concise message. The flap is secured with a small sticker.
Desk Frame Art
Cut into 5×7 or 4×6 before adding the frame. The neutral mat complements the black-and-white contrast.
Seasonal Wall Trio
Choose autumn, winter, and spring scenes, cut them in half, and then tape the sequence together. Swap pages as seasons change.
Fridge Magnet
To adhere a square or back, use thin card and apply magnet tape—test weight before placing.
DIY Placemat
Opt for a full-page or opaque arm tone. After eating, clean up with a gentle wipe and place it in the fridge.
Coaster Set
Reduce the dimensions to 4×4, cover the backside with cork, and seal it using clear tape. Let edges cure before use.
Party Bunting
Cut out triangles, punch corners, and twine. Spread out across a door and space them evenly.
Shadow Box
To create depth, fold in a cat in the foreground and add foam dots against it. Then repeat with layers—angle light for gentle drama.
Ornament
Draw a circle from whichever spot you like, place it on the back side of kraft paper, and tie it with ribbon. Hold onto a branch or hook.
Door Hanger
Draw a lengthy strip, insert an opening, and add a top circle. Then, type in the inscriptions. Then attach the letter. Reduce the width of standard knobs.
Planner Divider
Place the card onto a sturdy surface, punch the edge, and attach supplementary material. Repeat step by step. Sections become easy to find.
Sticker Sheet
Draw motifs on a single sheet and print them onto sticker paper. Place, peel, and cut as required.
Calendar Top
After trimming or sleeving the header scene, it is best to swap out the original page each month with a new one.
Level Up Techniques
Crisp edges plus a simple value plan make a page read from across the room. Guide the eye to the face with tiny accents. Keep the background quiet. Hold one light direction so forms feel solid and friendly.
Palette and Marker Handling
Pause briefly between passes and add a second layer only where needed.
Keep accents small at the end and stop once forms read clearly.
Usage and Licensing
Clear terms keep things fair. Writing assignments and classroom work are both permitted. For commercial use, a license request must be made with both scope and quantity. To maintain quality and protect the artwork, redistribution and resale are not allowed.
Why This Little Habit Works
Small wins stack. Slide a Tuxedo Cat Coloring Page Printable into the folder, date the tab, watch the pile grow. The complete set of Tuxedo Cat Coloring Pages sits on ColoringPagesJourney—ready for tomorrow’s ten quiet minutes
Frequently Asked Questions
Reselling and reposting are strictly prohibited in the classroom and at home.
Use high-quality, matte paper with a scrap sheet beneath and a weight of 160–200 grams.
Select PNG or JPG, add a color below the line layer, and then convert to PDF. Print a rough draft first.
Printed out one page, check the margins and clarity; test another paper weight.
Place it on top with care, then blend it in a blender. Hold back and burnish for 1–2 minutes.

